Adjusting Sprinkler Heads For Coverage (Easy How-To Guide)
If your lawn has dry patches next to soggy spots, chances are your sprinkler heads need a little attention. Adjusting sprinkler heads for coverage is one of the SIMPLEST ways to save water, protect your plants, and keep your yard looking green all season long. At Matehuala Landscape And Irrigation in Celina, we handle these adjustments all the time — and the good news is, many of them you can do yourself with a few basic tools.
In this easy how-to guide, we’ll walk you through the different types of sprinkler heads, the tools you’ll need, and step-by-step instructions for dialing in the perfect spray. Let’s get your irrigation system working the way it should.
Types of Sprinkler Heads and How They Adjust
Before you grab a screwdriver, it helps to know what KIND of sprinkler head you’re working with. Not all heads adjust the same way — some use a screw, some twist, and some have special keys. Identifying your head type first will save you a lot of frustration (trust us on that one).
Here are the most common sprinkler heads you’ll find in a residential system:
- Fixed spray heads — These pop up and spray a fixed pattern (like a quarter, half, or full circle). They usually adjust with a small screw on top.
- Rotor heads — These rotate back and forth, shooting a stream of water across a wider area. Great for large lawns.
- Impact (impulse) heads — The classic “tick-tick-tick” sprinklers. Often used on bigger properties and adjustable with collars and pins.
- Rotary nozzles — A newer hybrid that spins multiple streams of water for slow, even coverage. Adjustable arc and radius.
- Bubbler heads — These flood a small area (usually flower beds or trees) rather than spraying. Adjusted by flow rate.
Once you know which type you have, the rest gets a whole lot easier.
Tools You’ll Need to Adjust Sprinkler Heads
You don’t need a garage full of gear to adjust sprinkler heads. Most jobs require just a couple of simple tools — and a bit of patience. Having the RIGHT tools on hand makes the process smooth and prevents damage to the heads.
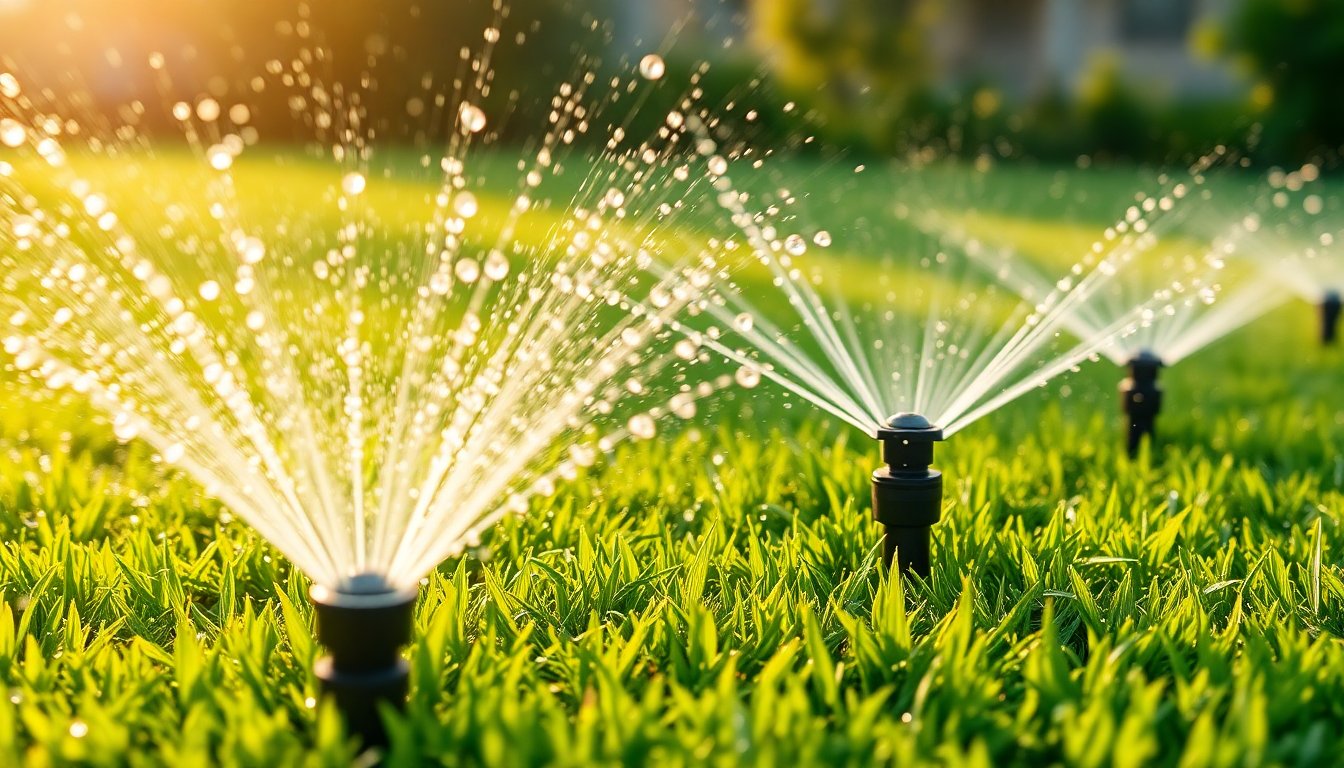
Here’s what we recommend keeping in your kit:
- Flathead screwdriver — For adjusting the radius screw on fixed spray heads.
- Sprinkler adjustment key (or rotor tool) — Many rotor heads need a special key. Check your brand (Rain Bird, Hunter, Toro, etc.).
- Small wrench or pliers — Handy for impact heads and stubborn collars.
- Gloves — Because you’ll be kneeling in wet grass and dirt.
- A partner (optional but helpful) — One person watches the spray while the other adjusts.
Pro tip: Run the system at LOW pressure while you test. It’s easier to see coverage without getting soaked.
How to Adjust Spray Distance on Sprinkler Heads
Spray distance (also called radius) controls how FAR the water reaches. If your sprinkler is overshooting the sidewalk or falling short of the flower bed, this is the adjustment you need. Most fixed spray heads have a small screw right on top of the nozzle that controls distance. Turning it changes how far the water travels — simple as that.
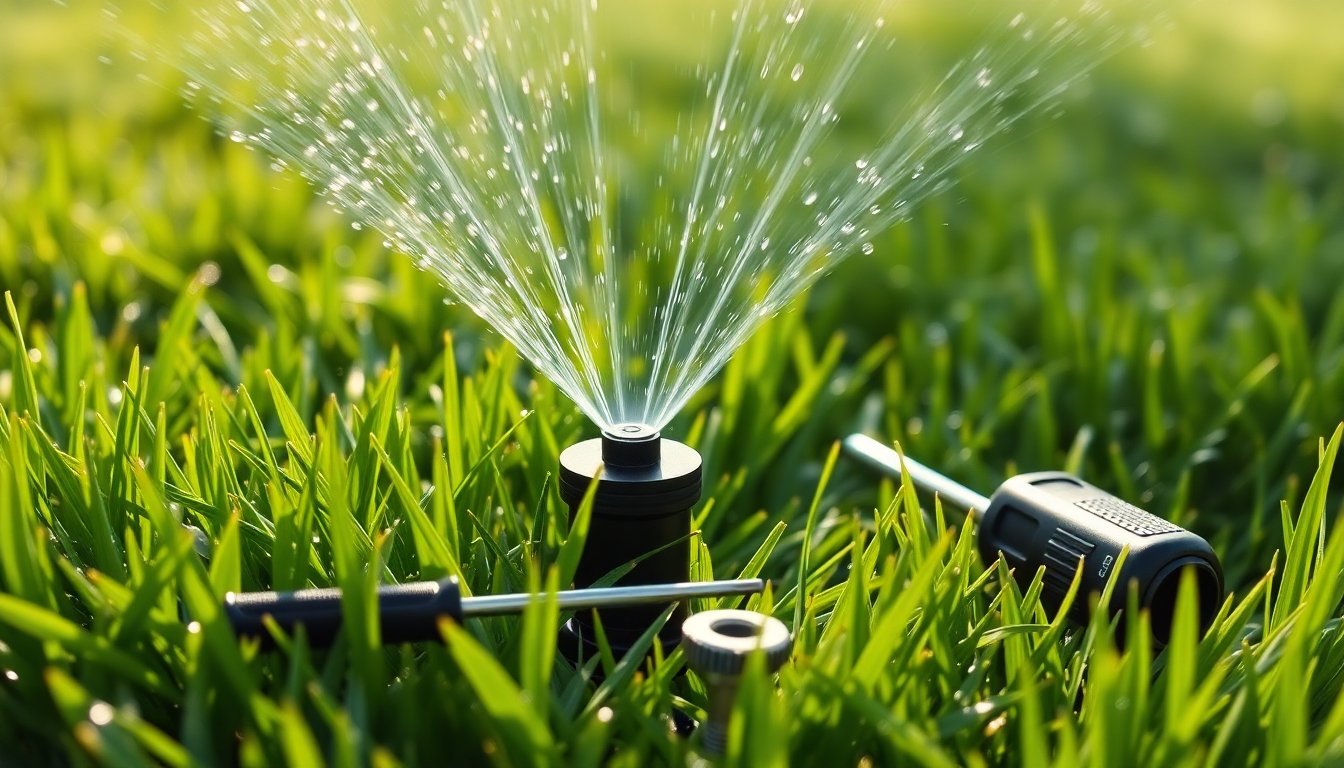
Follow these steps to adjust spray distance:
- Turn on the sprinkler zone so you can see the water in action.
- Locate the small screw on top of the spray head (usually in the center of the nozzle).
- To REDUCE the distance, turn the screw clockwise. This restricts water flow and shortens the spray.
- To INCREASE the distance, turn the screw counterclockwise. This opens the flow and pushes water farther.
- Make small quarter-turn adjustments — a little goes a long way.
- Watch the spray after each turn and fine-tune until the coverage is right.
- Turn off the zone and double-check for any dry spots or overspray.
Remember — the goal is EVEN coverage without wasting water on driveways, fences, or sidewalks.
How to Adjust the Spray Pattern and Direction
Spray distance is only half the battle. You also need to control the PATTERN (the arc) and the DIRECTION (where that arc starts and ends). Here’s how to handle both.
Adjusting the Arc on Fixed Spray Heads
Fixed spray heads come in preset arcs — like 90°, 180°, and 360°. If your head has an adjustable nozzle, you can rotate the collar to change the arc. Twist the top of the nozzle to widen or narrow the spray angle. Some brands let you go anywhere from a thin sliver to a full circle.
Setting the Spray Direction
To change WHERE the water goes, gently grip the sprinkler body (not the riser) and rotate it to point in the right direction. For heads with a fixed spray pattern, you’ll set the “start” point by turning the whole nozzle. Aim the edge of the spray so it lines up with your lawn’s border — not the pavement.
Fine-Tuning for Overlap
Good sprinkler coverage relies on OVERLAP. Each head should spray far enough to reach the base of the next one (this is called “head-to-head coverage”). If you’re seeing dry rings between heads, widen your spray pattern slightly so the edges overlap. It feels like too much water at first — but it prevents those annoying brown patches.
How to Adjust Rotor and Impact Sprinkler Heads
Rotor and impact heads work differently than fixed sprays. Instead of a constant spray, they move back and forth across an arc. Adjusting them means setting the LEFT stop, the RIGHT stop, and sometimes the distance. It takes a couple of extra steps, but it’s not hard once you get the hang of it.
Here’s how to adjust a typical rotor head:
- Find the arc adjustment socket on top of the head (you’ll usually need a rotor key or flathead).
- Rotate the head by hand to the LEFT stop — this is your fixed starting point.
- Insert your key and turn the arc adjustment to set the RIGHT stop (the point where it reverses).
- Turn clockwise to INCREASE the arc, counterclockwise to DECREASE it.
- To adjust distance, locate the radius screw and turn it in to shorten the throw or out to lengthen it.
- Run the zone and watch a full rotation to confirm the coverage.
For impact (impulse) heads, adjustment works a little differently:
- Set the direction by moving the two trip collars — they control where the head starts and stops.
- Slide the collars closer together for a narrow arc, or farther apart for a wider one.
- Adjust the diffuser screw or pin near the nozzle to control distance and stream break-up.
- Lower the diffuser pin into the stream to shorten the throw and add a misty spray for close-in coverage.
- Test and repeat until it matches your lawn shape.
These heads cover a LOT of ground — so small changes make a big difference.
Common Sprinkler Coverage Problems and How to Fix Them
Even a well-designed system can develop coverage issues over time. Heads shift, clog, or wear out — and suddenly you’ve got dry spots (or a flooded corner). Here are the most common problems we see across Celina, Frisco, Prosper, and McKinney — and how to fix them fast.
- Dry spots between heads — Usually a lack of overlap. Adjust the radius or arc so the spray reaches the next head.
- Overspray onto sidewalks or streets — Reduce the distance with the radius screw or narrow the arc. Saves water AND money.
- Clogged nozzles — Dirt and mineral buildup block the spray. Unscrew the nozzle, rinse it out, and clear the filter.
- Tilted or sunken heads — Sod and soil settle over time. Straighten the head and pack soil around it so it sits level with the grass.
- Low water pressure — If heads barely pop up, you may have too many heads on one zone or a leak in the line.
- Misting instead of spraying — Pressure is too HIGH. Consider a pressure-regulating head or reduce flow at the valve.
- Rotor not rotating — Debris or a worn gear. Clean it out — if it still won’t turn, the head may need replacing.
If you’ve tried these fixes and still see uneven coverage, the problem might be deeper — like a cracked pipe, a bad valve, or a poorly zoned system. That’s when it’s worth bringing in a pro to take a closer look.
Conclusion
Adjusting sprinkler heads for coverage doesn’t have to be complicated. Once you know your head type, grab a screwdriver or rotor key, and make small changes while watching the spray, you’ll be dialing in EVEN, efficient coverage in no time. Focus on head-to-head overlap, avoid wasting water on pavement, and keep those nozzles clean.
If your system needs more than a quick tune-up — or you’d rather leave it to the experts — the team at Matehuala Landscape And Irrigation is here to help homeowners across Celina, Frisco, Little Elm, Prosper, McKinney, and beyond. Reach out anytime, and let’s get your lawn looking its GREENEST.