

Sprinkler Head Leaking At Base? (Easy Fixes 2026)
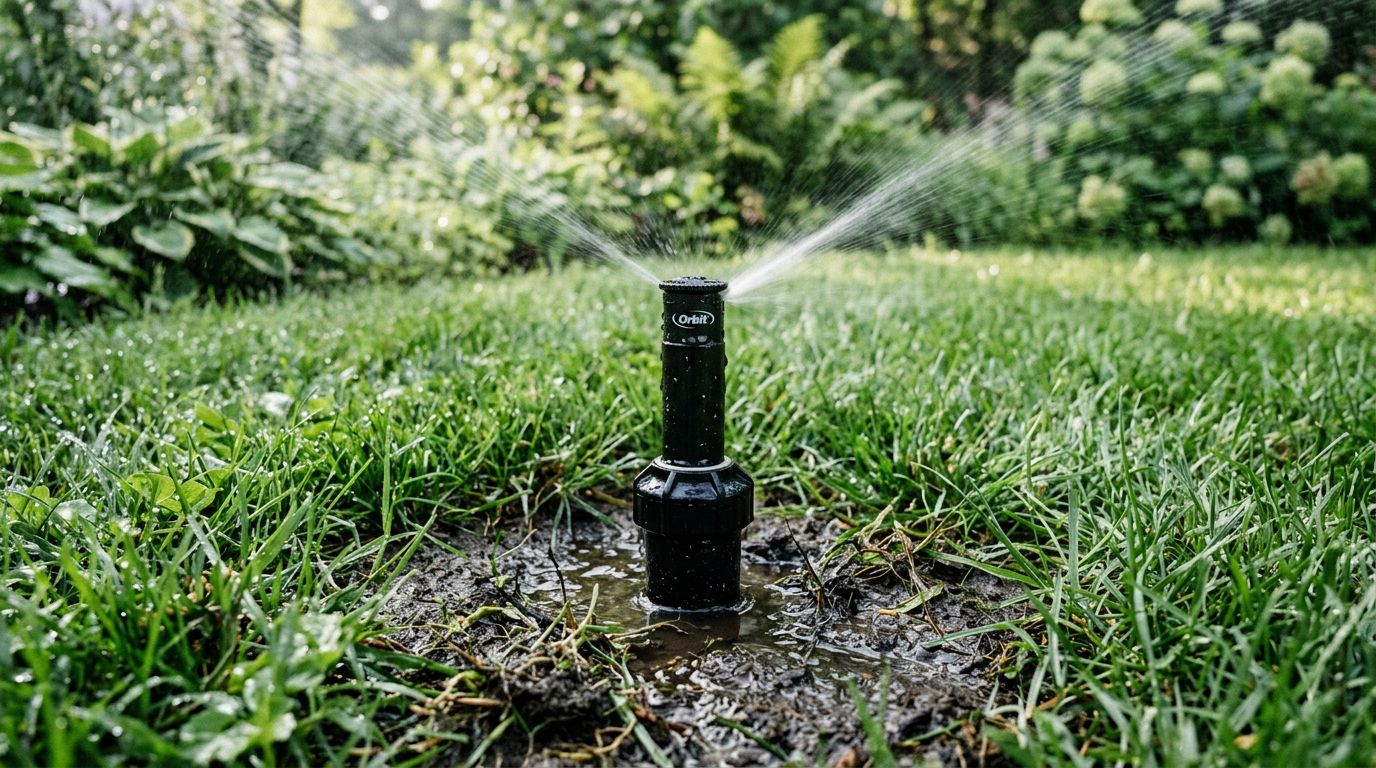
Have you noticed water pooling around your sprinkler head every time the system runs? A sprinkler head leaking at the base is one of the most common problems we see here at Matehuala Landscape And Irrigation in Celina. It might look scary, but the good news is that most of these leaks are easy to fix once you know what is going on.
In this guide, we will walk you through WHY your sprinkler head leaks, how to fix it step by step, and how to keep it from happening again. Whether you are a hands-on homeowner or just want to understand the problem before calling a pro, we have got you covered.
Why Is My Sprinkler Head Leaking at the Base?
A leak at the base of a sprinkler head usually means something is worn out, cracked, or loose. Water is finding the path of least resistance, and it is escaping right where the head meets the pipe or riser. Sometimes it is a simple seal issue. Other times it points to a bigger problem below the surface. Understanding the cause helps you pick the right fix. Leaks like this are actually one of the most common issues in irrigation systems, so you are definitely not alone.
Here are the usual culprits behind a leak at the base:
- Worn or damaged seals. The internal seal or wiper seal wears out over time and lets water push through the base.
- Cracked sprinkler head housing. Foot traffic, lawn mowers, and freezing weather can crack the plastic body.
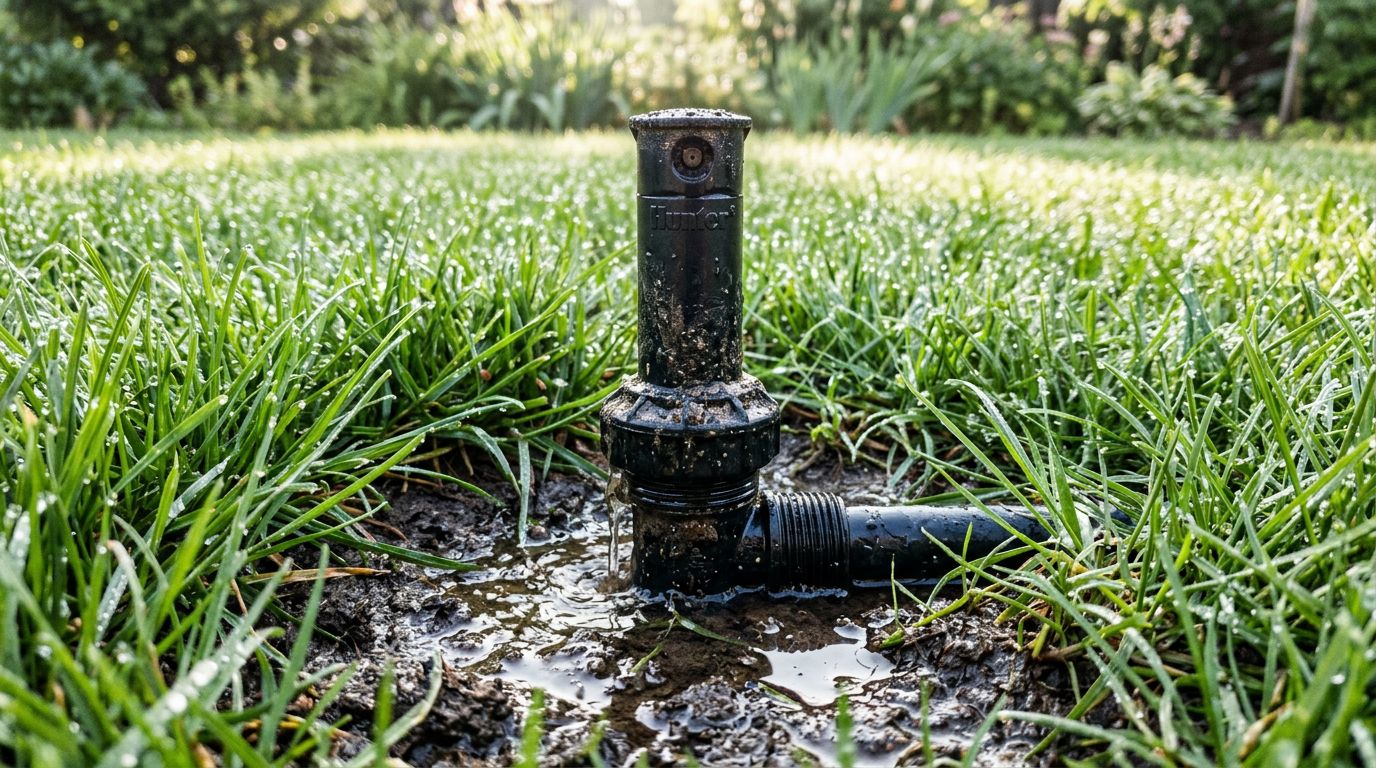
- Loose connection at the riser. If the head is not threaded on tightly, water leaks at the joint.
- High water pressure. Too much pressure stresses the head and forces water out at weak points.
- Debris under the seal. Dirt and sand can prevent the seal from closing all the way.
- Damaged riser or fitting. A cracked riser below the head sends water straight up to the base.
How to Fix a Sprinkler Head Leaking at the Base
Fixing a leaky sprinkler head does not always require replacing the whole thing. Start with the simplest checks first. Many leaks come down to a loose head or a bit of debris. Work your way through these steps in order, and you will often solve the problem without much trouble. Just remember to turn OFF your system before you start digging around.
- Shut off the irrigation system. Turn off the water at the controller or the main valve so no water flows while you work.
- Locate the leaking head. Run the zone briefly to confirm exactly which head is leaking at the base.
- Clear away dirt and grass. Dig a small area around the head so you can see the connection clearly.
- Check the connection. Gently try to tighten the head onto the riser. Do not overtighten or you may crack the plastic.
- Inspect the seal. Pull up the riser and look at the seal. If it is cracked, brittle, or full of grit, it needs attention.
- Clean out debris. Rinse away any dirt or sand that could be blocking the seal from closing.
- Test again. Turn the zone back on and watch the base. If the leak is gone, you are done. If not, the head or riser likely needs replacing.
If the leak keeps coming back after cleaning and tightening, the head itself is probably worn out. That is when replacement makes the most sense. And if you notice your spray pattern is off after the fix, you may need help adjusting sprinkler heads for better coverage.
Tools and Materials You Need for the Repair
Before you get started, gather everything you need so you are not running back and forth to the garage with muddy hands. Most of these items are cheap and easy to find at any hardware store. Having the right supplies on hand makes the whole job faster and cleaner.
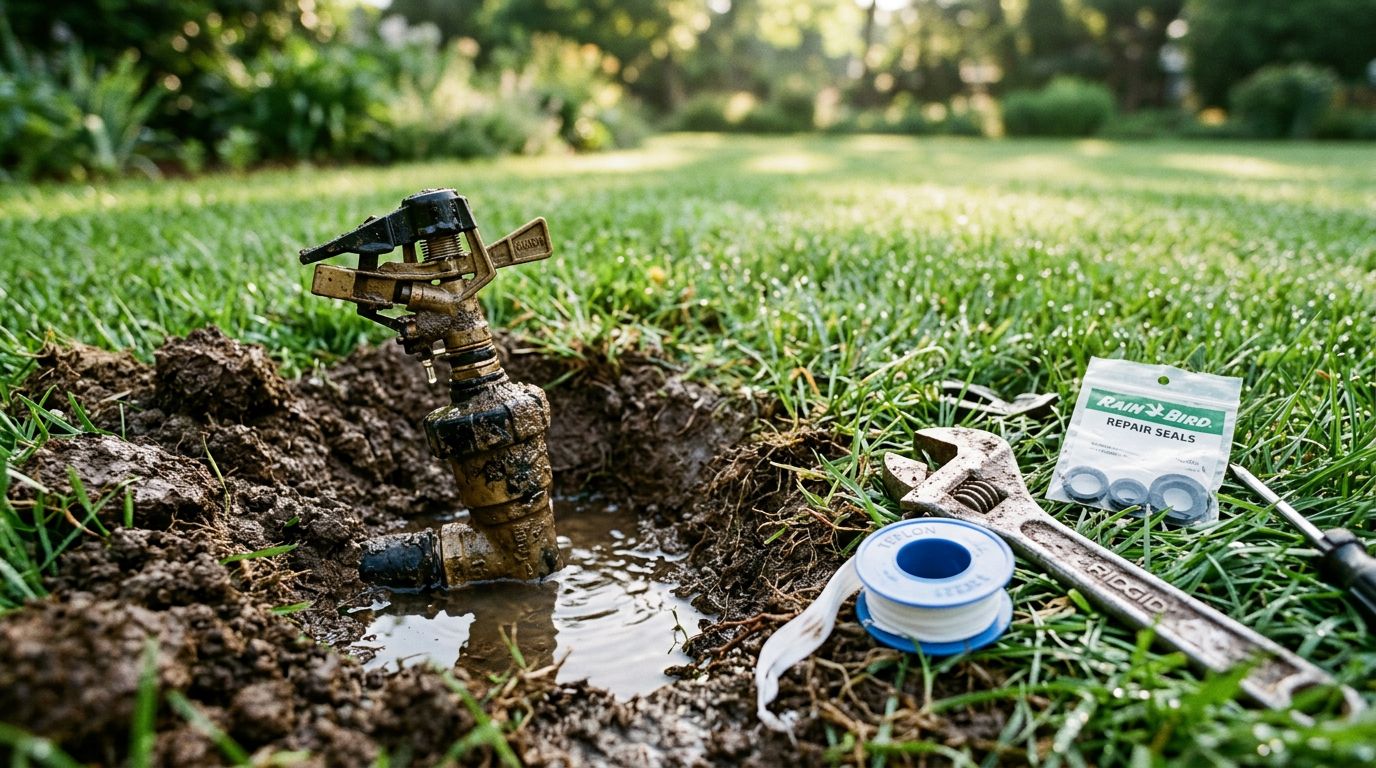
- Replacement sprinkler head that matches your current brand and model
- Adjustable wrench or channel-lock pliers for loosening fittings
- A small hand trowel or shovel to dig around the head
- Teflon tape (thread seal tape) for a watertight connection
- Replacement riser or fitting in case yours is cracked
- A bucket of water or hose to rinse away dirt
- Work gloves to keep your hands clean and protected
- A flathead screwdriver for adjustments after install
Try to match the new head to the exact model you are replacing. Mixing different brands or nozzle types in the same zone can throw off your coverage and lead to dry spots or overwatering.
How to Replace a Damaged Sprinkler Head
If cleaning and tightening did not stop the leak, replacing the head is the next move. This is a straightforward job for most homeowners. The key is to keep dirt out of the pipe and to seal the threads properly. Take your time and follow these steps in order.
- Turn off the water. Shut down the system at the controller and let any remaining pressure drain out.
- Dig around the head. Carefully expose the head and the riser it sits on. Keep the soil in a pile so you can put it back later.
- Unscrew the old head. Twist the damaged head counterclockwise off the riser. Hold the riser steady so it does not spin loose in the pipe.
- Inspect the riser. Look for cracks or damage. If it is bad, unscrew and replace the riser too.
- Wrap the threads. Add a few wraps of Teflon tape around the riser threads for a leak-free seal.
- Screw on the new head. Thread the new sprinkler head on by hand, then snug it up. Do not force it too tight.
- Set the height. Make sure the top of the head sits level with the soil so mower blades do not hit it.
- Test the zone. Turn the water back on and check for leaks at the base. Adjust the spray direction as needed.
- Backfill the soil. Pack the dirt back around the head firmly but not too hard.
That is it. A single head replacement usually takes less than 30 minutes once you have the parts ready. If you have several heads acting up at once, a full sprinkler system tune-up in Celina TX might be the smarter move.
When to Call a Professional vs DIY Repair
Some sprinkler problems are perfect for a weekend DIY project. Others are better left to the pros. Knowing the difference saves you time, money, and frustration. Here is how to decide.
When DIY Makes Sense
If you are dealing with a single leaking head, a loose connection, or a bit of debris in the seal, you can usually handle it yourself. These fixes are simple and low risk. Replacing one head or one riser is a great beginner project. As long as you can turn off the water and follow basic steps, you should be fine.
When to Call a Professional
Call in a pro when the problem goes deeper than the surface. Signs you need expert help include:
- Multiple heads leaking at once across different zones
- Low water pressure throughout the whole system
- Water pooling in the yard even when the system is off
- Cracked underground pipes or damaged valves
- Wiring or controller issues you cannot pin down
- Leaks that keep coming back after you fixed them
These issues often point to something under the surface that needs proper diagnosis. Our team at Matehuala Landscape And Irrigation handles irrigation repair across Celina, Frisco, Prosper, McKinney, and nearby towns. If you are not sure whether it is a quick fix or a bigger repair, it never hurts to ask.
How to Prevent Sprinkler Head Leaks in the Future
The best way to deal with a leak is to stop it before it starts. A little routine care goes a long way toward keeping your irrigation system healthy. Most leaks build up slowly, so catching problems early saves you money and headaches down the road. Here are our top prevention tips.
- Inspect your heads regularly. Walk your yard while the system runs and look for pooling, spraying at the base, or misaligned heads.
- Keep heads clear of debris. Trim grass and remove dirt buildup around each head so seals can close properly.
- Watch your water pressure. Too much pressure wears out heads fast. A pressure regulator can help protect your system.
- Set heads at the right height. Heads that stick up too far get hit by mowers and foot traffic.
- Winterize your system. Draining water before a freeze prevents cracked housings and fittings.
- Fix small issues fast. A minor leak today can turn into a major repair later if you ignore it.
- Schedule seasonal check-ups. A yearly professional inspection catches wear before it becomes a leak.
Consistent care keeps your lawn green and your water bill in check. Small habits like these make a HUGE difference over the life of your system.
Conclusion
A sprinkler head leaking at the base is usually a simple fix. Most of the time it comes down to a worn seal, a loose connection, or a bit of debris. Start with the easy checks, clean out any grit, and tighten the head. If the leak sticks around, replacing the head or riser is a quick job with the right tools. And when the problem runs deeper, calling a professional is the smart call.
At Matehuala Landscape And Irrigation, we help homeowners across Celina, Frisco, Little Elm, Prosper, McKinney, and beyond keep their irrigation systems running strong. If your sprinklers need attention, reach out and let our team take a look. Your lawn will thank you.


